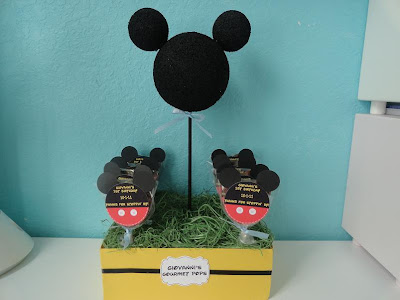
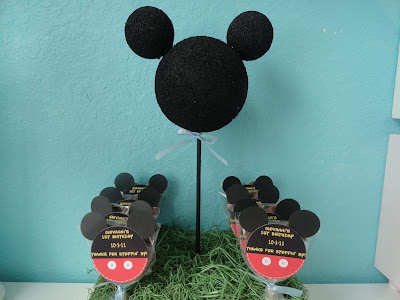
Hi Lovers!! Bare with me just a few more blog posts (maybe 3 or 4... or 5) and I promise I'll be done with Mickey projects. At this point my real focus is on counting down the hours, figuring out if I want to have my hair straight or wavy/curly, if I want to get some tips and what style to get, if I want to add a few last minute touches to the plans, etc. Just every party planner's sleepless brainstorm that arrives just as you lay your head down to rest. lol.
Today's Mickey theme'd project came to me while thinking of a way to display the adorable Mickey pops that my husband and I made. I gave him a design idea for the labels (which was to match the invitations) and he went to work on the computer and brought it to life. We make a great team huh? If it weren't for him I probably would have had to dish out money for all these creative labels. He's such a software genius!
[Sorry, had to give him some much deserved props!]
[Sorry, had to give him some much deserved props!]
Back to the project.
The photos share the creative process so I won't be too chatty in this blog, but if you have questions please feel free to leave a message below.
And once again, a video showing this project (with narrating details) is available below.
(click photos to enlarge)
Make sure to add hot glue in between the two foam blocks for added security.
I left 1/4" extra space above the foam to be able to fill the top with Spanish moss
(using hot glue, of course) and not have it spill over.
(using hot glue, of course) and not have it spill over.
The Mickey head is basically made of foam balls in 2" and 4",
painted black and attached with bamboo sticks and hot glue;
placed on top of a painted wooden dowel and stuck into the foam block base.
painted black and attached with bamboo sticks and hot glue;
placed on top of a painted wooden dowel and stuck into the foam block base.
A step by step tutorial showing how we made the "Giovanni's Gourmet Pops" will be coming soon. Stay Tuned!!
Thanks for stopping by.
x0, Damaris


1 comment
Demaris, you are a GENIUS! I love these ideas for a Mickey Mouse party. My son is turning 3 soon, and I may have to use some of these creative ideas.
Post a Comment